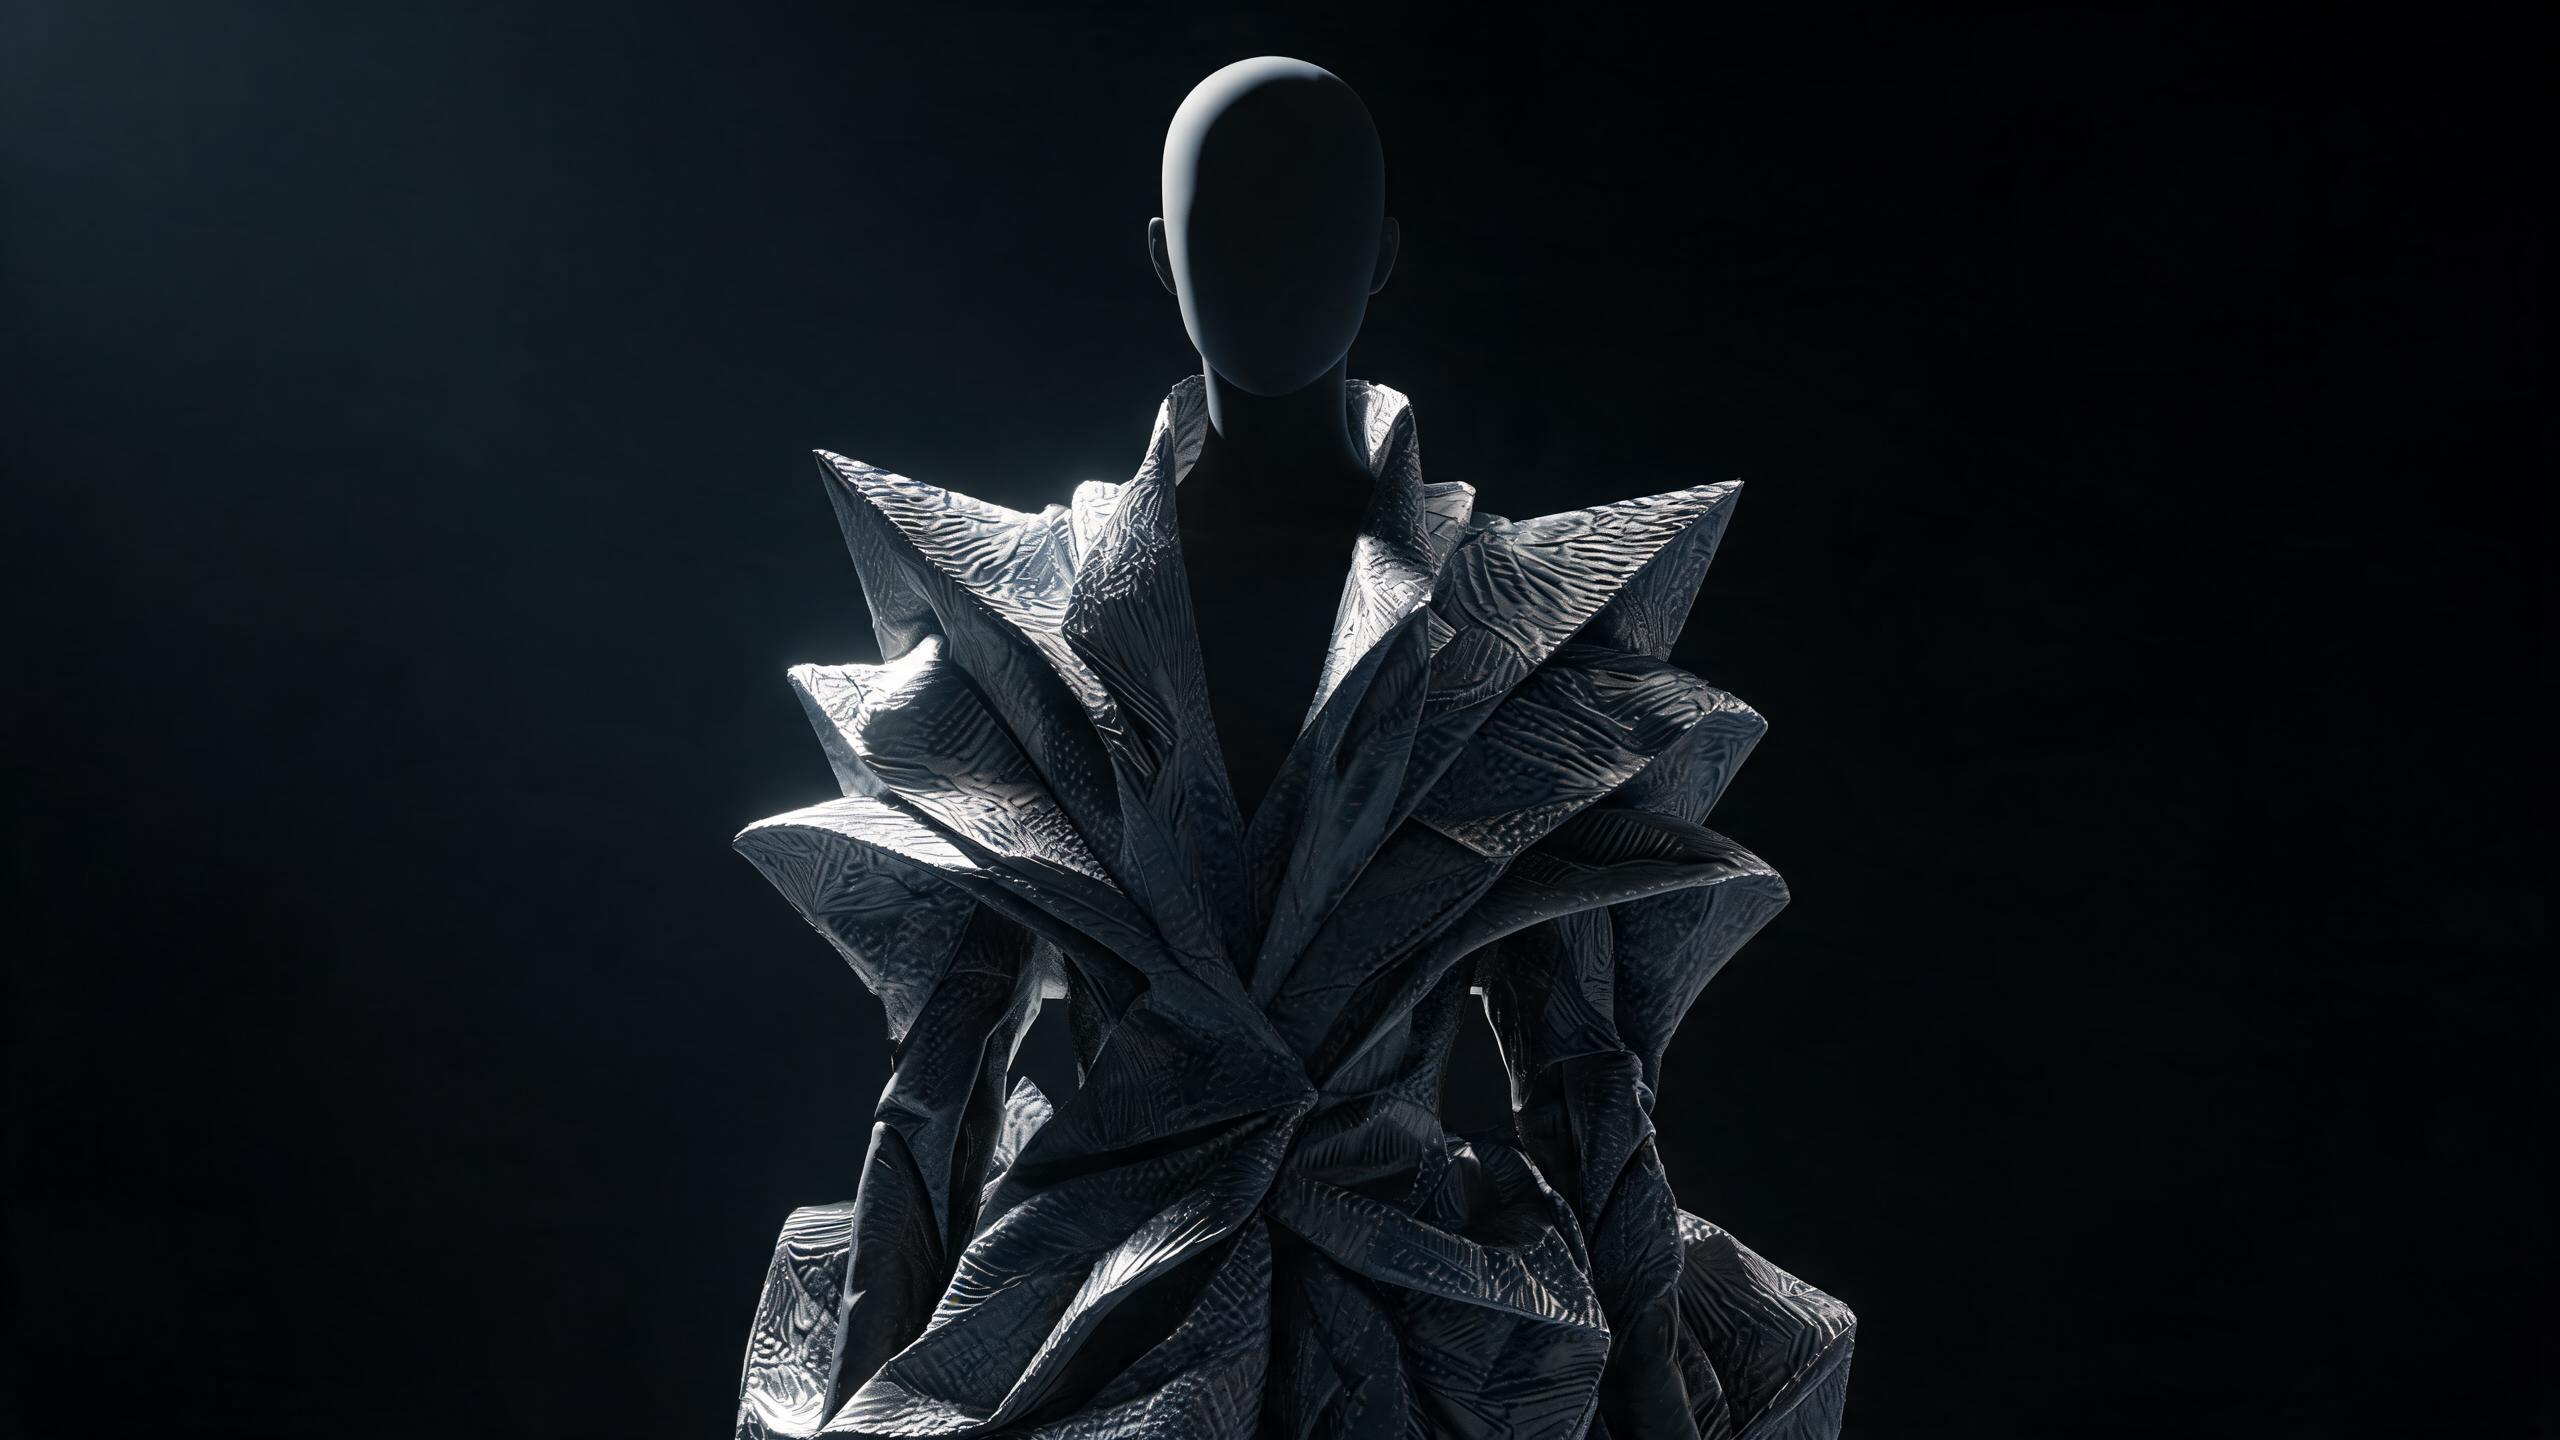
How to Turn a Demna-Style Fashion Sketch Into a Render

Learn how to translate Demna’s exaggerated silhouettes into polished AI visuals using prompt structure, reference images, and controlled rendering techniques.
A Demna-style fashion sketch becomes a convincing render only when its silhouette, material logic, construction, and visual attitude survive the translation from line to image.
Key Takeaway: A demna ai fashion sketch to render workflow succeeds by preserving the sketch’s silhouette, proportions, construction details, material behavior, and intentionally raw visual attitude throughout the rendering process.
What Is the Core Problem Behind a Demna AI Fashion Sketch to Render Workflow?
The central problem in a demna ai fashion sketch to render workflow is not image generation. It is design fidelity.
A fashion sketch contains compressed information. A few lines can imply an oversized shoulder, a collapsed neckline, a precise trouser break, a deliberately awkward proportion, or a specific relationship between rigid tailoring and soft fabric. Image models do not automatically recover that information.
They interpret the sketch through learned visual patterns, then produce the most statistically plausible garment image.
That distinction matters.
A generic image generator can create a polished fashion image from a text prompt. It can produce dark tailoring, exaggerated proportions, distressed surfaces, unusual accessories, and editorial lighting. It often fails when asked to preserve the exact design logic of a sketch.
The result is recognizable as fashion but inaccurate as design.
Common failures include:
- A broad shoulder becoming a standard blazer.
- A long, narrow coat becoming a short jacket.
- A deliberately low waist becoming a conventional high-waisted silhouette.
- A distorted sleeve becoming a symmetrical, commercially familiar sleeve.
- A fabric described as “heavy wool” rendering as thin polyester.
- A rough sketch’s tension becoming clean luxury campaign styling.
- Footwear, bags, or accessories overpowering the garment.
- The model changing between generations.
- Construction details appearing decorative rather than functional.
The workflow therefore requires more than a prompt. It requires a controlled translation system that separates shape, material, construction, styling, and rendering.
Demna-style fashion sketch to render: A controlled image-generation workflow that translates an oversized, deconstructed, or tension-driven fashion sketch into a photorealistic or editorial render while preserving its original silhouette, construction, material behavior, and visual attitude.
The objective is not to copy a designer’s exact work or reproduce protected designs. The objective is to understand and translate a set of recognizable design principles: scale distortion, tension between formal and informal clothing, deconstruction, altered proportions, visual discomfort, and the collision of streetwear with luxury presentation.
A successful render makes the design readable before the viewer notices the image quality.
Why Do Common Sketch-to-Render Approaches Fail?
Most failed workflows treat the sketch as an image prompt instead of a design blueprint.
A prompt such as:
Demna-inspired oversized black fashion look, runway photography, dramatic lighting, high fashion, avant-garde tailoring
contains an aesthetic direction but almost no structural instruction. It tells the model how the image should feel, not what the garment must do.
The model fills the missing information with familiar fashion conventions. “Oversized tailoring” becomes a wide blazer. “Deconstructed” becomes exposed seams. “Dark runway” becomes black clothing under dramatic lighting. These associations create coherence, but not fidelity.
Failure One: The Prompt Describes Mood Instead of Geometry
Fashion renders are judged first by silhouette. Silhouette is the external geometry of the garment and the body relationship it creates.
Important silhouette variables include:
- Shoulder width.
- Shoulder slope.
- Torso length.
- Waist placement.
- Hip volume.
- Sleeve width and length.
- Hem position.
- Trouser rise.
- Trouser break.
- Footwear scale.
- Distance between garment and body.
A mood-heavy prompt leaves these variables undefined. The model then chooses average fashion proportions because average proportions are more probable in its training data.
The image may look refined, but the sketch’s identity disappears.
Failure Two: The Sketch Is Uploaded Without Visual Preparation
A raw sketch often contains:
- Uneven line weight.
- Notes and arrows.
- Multiple garment views.
- Eraser marks.
- Construction lines.
- Background shadows.
- Incomplete hems.
- Ambiguous anatomy.
- Cropped sleeves or shoes.
These elements are useful to a human designer but confusing to an image model. The model may treat annotation as garment detail, interpret construction lines as seams, or merge front and side views into one distorted body.
A sketch must be prepared as an input asset, not simply attached to a prompt.
Failure Three: Style Reference Overpowers Design Reference
Reference images are powerful because they provide lighting, posing, texture, and editorial context. They are also dangerous because they can dominate the garment itself.
When a workflow uses a runway image, a model photograph, and an architectural moodboard alongside a sketch, the model may preserve the atmosphere while abandoning the design.
This produces an attractive substitution: the image feels correct, but the garment is wrong.
A useful principle is:
The sketch defines the garment. References define the presentation.
When references compete with the sketch, the result becomes a collage of influences rather than a controlled render.
Failure Four: Material Language Is Too Vague
“Black fabric” is not a material specification.
Different black materials behave differently:
| Material | Surface behavior | Fold behavior | Typical visual risk |
|---|---|---|---|
| Dense wool | Matte, low reflectivity | Broad, heavy folds | Can become flat and shapeless |
| Technical nylon | Slight sheen, crisp collapse | Sharp or noisy folds | Can look like generic sportswear |
| Coated cotton | Controlled gloss | Stiff creasing | Can become leather-like |
| Washed denim | Uneven color, visible grain | Structured folds | Can lose luxury tension |
| Leather | Directional highlights | Rigid or sculpted folds | Can dominate the entire look |
| Jersey | Soft, low structure | Body-following drape | Can erase exaggerated volume |
| Faux fur | Complex edge texture | Dense, irregular mass | Can overwhelm silhouette |
If the prompt only states “dark oversized coat,” the model selects a material based on the surrounding visual context. That may produce leather, wool, plastic, or synthetic fabric without any consistent reason.
Material must be described through surface, weight, drape, construction, and light response.
Failure Five: The Workflow Changes Too Many Variables at Once
A common process generates a new image for every correction:
- Change the model.
- Change the pose.
Change the fabric. 4. Change the lighting. 5. Change the silhouette. 6.
Change the background. 7. Repeat.
This destroys causal clarity. When the output improves, the designer does not know why. When it deteriorates, there is no stable version to recover.
A reliable workflow changes one layer at a time.
Failure Six: The Render Is Evaluated as an Image Instead of a Garment
High-resolution output can hide design errors. Dramatic lighting can make inaccurate construction appear intentional. A beautiful face can distract from a wrong sleeve.
A strong background can make a weak silhouette feel editorial.
The garment needs separate evaluation criteria:
- Does the outline match the sketch?
- Is the volume located in the correct places?
- Does the hem sit at the intended level?
- Are closures and seams plausible?
- Does the material support the shape?
- Does the garment still read in a flat front-facing view?
- Does the design remain identifiable without the model, lighting, or set?
If the answer is no, more detail will not solve the problem.
What Are the Root Causes of Poor Demna AI Fashion Sketch to Render Results?
The root causes fall into four categories: representation, conditioning, garment logic, and evaluation.
The Representation Problem: Fashion Sketches Are Not Photographs
A sketch communicates through abstraction. It prioritizes proportion, gesture, and design intent over surface realism.
An image model works more naturally with visual evidence that resembles its target output. When given a sketch, it must infer:
- Where the body ends and the garment begins.
- Which lines represent seams.
- Which lines represent folds.
- Which areas indicate shadow rather than material.
- Whether the garment is flat, padded, pleated, or simply shaded.
- How the garment behaves around joints.
- What the back of the garment looks like.
This is an inverse problem. The output is an image, but the input describes a three-dimensional object using incomplete two-dimensional marks.
The solution is to make the sketch more legible before asking for realism.
The Conditioning Problem: Image Guidance Is Not the Same as Design Understanding
Image-to-image systems generally preserve broad visual composition more easily than exact garment construction. They recognize the location of the figure, dominant colors, and overall pose. They struggle with small but essential design relationships.
For example, the model may preserve:
- A black figure against a pale background.
- A diagonal coat line.
- A wide upper body.
- A long vertical shape.
But it may fail to preserve:
- The exact offset closure.
- A split hem.
- A single dropped shoulder.
- A sleeve inserted below the natural armhole.
- An intentionally extended crotch.
- A rigid panel over a soft underlayer.
The model understands the sketch at multiple levels, but its strongest preservation often occurs at the semantic level rather than the technical level.
This is why a successful workflow uses separate passes for composition, silhouette, and detail.
The Garment Logic Problem: Clothing Must Behave Like a System
A garment is not a collection of visual adjectives. It is an engineered structure.
A long oversized coat requires relationships between:
- Shoulder support.
- Armhole depth.
- Sleeve pitch.
- Side seam position.
- Hem weight.
- Closure placement.
- Fabric density.
- Body movement.
If those relationships conflict, the result looks synthetic even when the render is sharp.
An oversized sleeve cannot simply be enlarged. It needs a plausible armhole, cuff, and connection to the shoulder. A dropped shoulder changes the sleeve angle.
A longer coat changes the way the hem interacts with the legs. A low-rise trouser changes the visual center of gravity.
Image generation frequently violates these relationships because it optimizes visual plausibility one region at a time. The sleeve may look realistic in isolation while being attached to an impossible shoulder.
The Evaluation Problem: Aesthetic Quality Masks Structural Failure
The fashion image industry has trained viewers to value polished presentation. AI systems amplify this bias by producing images with attractive lighting, skin, texture, and composition.
But a render can be visually impressive and structurally useless.
A design development render should answer practical questions:
- Can a patternmaker interpret the volume?
- Can a stylist understand the intended layering?
- Can a product developer identify the closure?
- Can a creative director compare variations?
- Can the designer distinguish concept from accidental artifact?
A successful output supports decision-making. It is not merely a poster.
👗 See the trends Alvin's Club is picking for you this week. Open your feed →
How Should a Demna-Style Sketch Be Prepared Before Rendering?
Preparation creates the largest improvement before prompting begins.
The goal is to turn an expressive sketch into a set of controlled visual signals. Do not erase the personality of the drawing. Remove ambiguity that does not serve the garment.
Step One: Isolate the Primary Design View
Choose one view as the main conditioning image:
- Front view for silhouette and closure.
- Side view for projection and volume.
- Back view for yoke, seam, and hem behavior.
- Three-quarter view for depth and layering.
Do not begin with a sheet containing front, back, side, fabric swatches, notes, and alternate shoes. Generate from the clearest primary view first.
The other views become validation references later.
Step Two: Clean the Background
Use a neutral background with strong contrast against the sketch. White, warm gray, or muted blue-gray generally works better than a textured studio surface.
Remove:
- Handwritten notes.
- Arrows.
- Unrelated construction lines.
- Color tests outside the silhouette.
- Eraser debris.
- Scanned shadows.
- Adjacent sketches.
If annotations are necessary, create a separate technical version. One image should communicate one job.
Step Three: Reinforce the Silhouette
The outer contour should be clear enough to read as a flat black shape.
Create a silhouette mask or simplified version that preserves:
- Shoulder breadth.
- Sleeve extension.
- Torso volume.
- Hem shape.
- Trouser width.
- Footwear relationship.
- Major negative spaces.
The mask is valuable because it strips away distracting details and tests whether the design works as geometry.
A useful two-input method is:
- Use the original sketch for detail and character.
- Use the silhouette mask for shape control.
Step Four: Mark Structural Anchors
Identify the details that define the garment. These are not every seam. They are the design’s non-negotiable anchors.
Examples include:
- A slanted front closure.
- An extended shoulder.
- A doubled collar.
- A visible internal layer.
- A sharply dropped crotch.
- A split hem.
- A single oversized pocket.
- A contrasting panel.
- A distorted sleeve opening.
- A deliberately exposed lining.
Write these anchors as a short list before prompting. If the list becomes long, rank it. The model should receive the most important constraints first.
Step Five: Separate Garment Layers
Demna-associated design language often depends on tension between layers: formal outerwear over casual basics, oversized tailoring over narrow underlayers, technical clothing against distressed surfaces, or exaggerated volume against ordinary accessories.
Label each layer:
- Base layer.
- Mid-layer.
- Outer layer.
- Footwear.
- Accessories.
- Surface treatment.
This prevents the model from merging all black elements into one undifferentiated mass.
Step Six: Describe Proportion Numerically Only When Useful
Exact measurements are not always necessary, but comparative ratios improve clarity.
Use statements such as:
- Shoulder width is visibly wider than the hip line.
- Coat hem reaches below the calf.
- Sleeve extends beyond the wrist.
- Trouser waist sits below the natural waist.
- Footwear occupies a broad, heavy base.
- The torso appears elongated relative to the legs.
These descriptions create relational constraints without pretending the model can follow a technical pattern specification perfectly.
How Should the Prompt Be Structured for a Demna AI Fashion Sketch to Render Workflow?
A strong prompt is modular. Each module controls a different part of the translation.
The Six-Part Prompt Architecture
Use this sequence:
- Design identity
- Silhouette
- Construction
- Material
- Styling
- Camera and environment
A practical template looks like this:
Editorial fashion render based on the attached original sketch. Preserve the sketch’s asymmetric oversized silhouette: extended right shoulder, elongated torso, dropped armhole, sleeves extending past the wrist, and a narrow low-positioned hem. Construct the garment as a heavy charcoal wool coat with an offset front closure, exposed inner layer, broad lapels, and one oversized lower pocket.
The fabric must show dense matte surface, weighty folds, and controlled structure. Pair with loose low-rise trousers and heavy black footwear. Full-body three-quarter view, neutral architectural background, restrained editorial lighting, accurate garment proportions, no decorative additions.
This prompt works because it distinguishes what the garment is from how the image should look.
Design Identity
Avoid relying on a designer’s name as the main instruction. A name provides an aesthetic shortcut but does not specify the design.
Describe the design language through observable properties:
- Exaggerated proportion.
- Deconstructed tailoring.
- Institutional uniform references.
- Deliberate awkwardness.
- Streetwear scale.
- Formal garments made unfamiliar.
- Distressed or worn surfaces.
- Severe palette.
- Anti-polished styling.
- Contrast between body concealment and visual exposure.
This creates a repeatable system rather than a vague imitation.
Silhouette
Silhouette instructions should come before color and lighting. Include:
- Overall length.
- Width distribution.
- Shoulder treatment.
- Waist position.
- Hip behavior.
- Sleeve volume.
- Hem shape.
- Relationship to the body.
Use contrast where necessary:
- Oversized upper body, narrow lower body.
- Long coat, compact footwear.
- Wide trousers, shortened jacket.
- Rigid shoulder, soft torso.
- Concealed body, visible hands and face.
Contrast gives the model a compositional hierarchy.
Construction
Construction terms should be concrete:
- Single-breasted.
- Double-breasted.
- Offset closure.
- Exposed zipper.
- Deep armhole.
- Dropped shoulder.
- Extended sleeve.
- Panel seam.
- Raw hem.
- Welt pocket.
- Patch pocket.
- Articulated knee.
- Layered collar.
- Internal harness.
- Visible lining.
Do not list every technical detail. Select the details that determine identity.
Material
Specify material through physical behavior:
- Dense or lightweight.
- Matte or reflective.
- Dry or smooth.
- Crisp or fluid.
- Structured or collapsible.
- Fuzzy, coated, brushed, washed, or granular.
- Broad folds or fine wrinkles.
- Holds shape or follows the body.
For example:
Dense brushed wool with low reflectivity, broad compressed folds, heavy hem behavior, and minimal surface sheen.
This is more useful than:
High-quality black wool texture.
Styling
Styling should support the garment, not compensate for it.
Specify:
- Body posture.
- Facial visibility.
- Hair treatment.
- Layering.
- Footwear scale.
- Accessory restraint.
- Pose energy.
- Degree of polish.
A slightly uncomfortable pose often supports deconstructed clothing better than a conventional fashion stance. The goal is controlled tension, not theatrical exaggeration.
Camera and Environment
Camera direction affects perceived proportion.
Use:
- Full-body or three-quarter framing.
- Eye-level camera for neutral proportion.
- Slight low angle for increased mass.
- Longer lens feel for less distortion.
- Controlled depth of field.
- Minimal architectural background.
- Soft directional lighting.
- Limited color palette.
Avoid an extreme wide-angle look when silhouette accuracy matters. Wide lenses can enlarge foreground limbs and make a correct garment appear incorrectly proportioned.
What Is the Best Step-by-Step Solution?
A reliable solution uses staged generation rather than one-shot prompting.
Phase One: Establish the Silhouette
Begin with a low-detail render. Ask the system to preserve the contour and body relationship while keeping the environment simple.
At this stage, ignore:
- Fine fabric texture.
- Jewelry.
- Facial detail.
- Complex lighting.
- Atmospheric effects.
- Editorial background design.
Evaluate only the outline.
Silhouette Review Checklist
- Is the shoulder width correct?
- Is the torso long enough?
- Does the sleeve extend to the intended point?
- Is the hem at the correct level?
- Is the lower body sufficiently narrow or wide?
- Does the garment conceal or reveal the body as intended?
- Does the pose support the silhouette rather than distort it?
If the outline fails, return to the sketch or mask. Do not add detail.
Phase Two: Lock the Garment Architecture
Once the silhouette is stable, add construction.
Describe the garment as a hierarchy:
- Primary shell.
- Structural panels.
Closure system. 4. Collar and neckline. 5. Pockets. 6.
Sleeves and cuffs. 7. Inner layers. 8. Hem treatment.
This hierarchy prevents minor details from competing with the main shape.
At this stage, use a moderate image transformation strength. Excessive transformation changes the garment. Insufficient transformation leaves the output looking like a colored sketch rather than a render.
The exact setting depends on the image system, but the principle remains consistent: preserve the contour first, then permit realism to enter through material and light.
Phase Three: Introduce Material Physics
Now define how the garment reacts to gravity and light.
For a heavy coat:
- Folds should be broad.
- The hem should carry weight.
- The sleeve should maintain volume.
- The shoulder should not collapse unless designed to.
- Highlights should remain restrained.
- Creases should cluster around movement points.
For technical fabric:
- Seams and panels should organize the surface.
- Highlights should follow tension planes.
- F
Summary
- A demna ai fashion sketch to render workflow is primarily a design-fidelity challenge, not simply an image-generation task.
- Fashion sketches compress details such as oversized shoulders, collapsed necklines, trouser breaks, distorted sleeves, and unusual proportions into minimal lines.
- Image models often replace distinctive sketch features with statistically familiar garments, turning broad shoulders into standard blazers or long coats into short jackets.
- Successful rendering requires preserving the sketch’s silhouette, material logic, construction details, and deliberately awkward visual attitude.
- Text prompts can create polished dark tailoring and editorial styling, but they rarely preserve a sketch’s exact design logic without careful visual guidance.
Key Takeaways
- Key Takeaway:
- demna ai fashion sketch to render
- design fidelity
- material
- construction
Frequently Asked Questions
What is a Demna AI fashion sketch to render workflow?
A Demna AI fashion sketch to render workflow transforms a conceptual fashion drawing into a realistic or stylized digital image while preserving its original design intent. The process focuses on maintaining the sketch’s silhouette, proportions, construction details, materials, and distinctive visual attitude.
How does AI turn a fashion sketch into a render?
AI analyzes the sketch as a visual reference and generates an image based on its shapes, lines, textures, and written instructions. The most reliable results come from combining the sketch with precise prompts that describe garment structure, fabric behavior, lighting, pose, and styling.
Can you use AI to create a Demna-style fashion render from a sketch?
You can use AI to create a Demna-style fashion render by emphasizing oversized proportions, unconventional layering, distorted silhouettes, and an editorial mood. Keep the prompt focused on design characteristics rather than copying a specific protected collection or image.
What details should you include in a Demna AI fashion sketch to render prompt?
A strong prompt should describe the silhouette, garment construction, fabric, color palette, model pose, camera angle, background, and lighting. Mentioning details such as dropped shoulders, exaggerated volume, raw edges, technical textiles, or layered tailoring helps the render stay faithful to the sketch.
Why does my AI fashion render not match the original sketch?
AI fashion renders often drift from the source sketch because the prompt does not clearly explain proportions, construction, or material logic. Use the sketch as an image reference, describe the most important design features first, and generate multiple variations while correcting one issue at a time.
Is it worth using an AI fashion sketch-to-render tool for design development?
AI fashion sketch-to-render tools are useful for quickly testing silhouettes, styling directions, materials, and presentation concepts. They support ideation and communication, but the final design still requires human judgment to verify fit, construction, wearability, and production details.
How can you improve a Demna AI fashion sketch to render result?
Improve the result by using a clean, high-contrast sketch and a structured prompt that separates silhouette, materials, construction, styling, and atmosphere. Generate several versions, select the closest composition, and refine details with image editing or targeted inpainting.
Related on Alvin's Club
About the author
Building the AI fashion agent at Alvin's Club — personal style models, dynamic taste profiles, and private AI stylists. Writing about where AI meets fashion commerce.
Credentials
- Founder at Alvin's Club (Echooo E-Commerce Canada Ltd.)
- Writes weekly on AI × fashion at blog.alvinsclub.ai
X / @alvinsclub · LinkedIn · alvinsclub.ai
This article is part of Alvin's Club's AI Fashion Intelligence series — the AI fashion agent that influences demand before shopping happens.
Related Articles
- 7 Demna-Inspired AI Fashion Design Workflow Templates
- How to Upscale Demna AI-Generated Fashion Images
- The 2026 Guide to Sharper, More Stylish Demna AI Outputs
- 7 Demna AI Tips for Creating Consistent Fashion Models
- How Demna’s AI Fashion Moodboard Generator Solves Creative Block
- Demna, AI and the Copyright Fault Line in Fashion
- How Demna AI Compares Different Versions of a Fashion Design
- How to Use Demna AI’s Vector Output for Fashion Design
- How to Improve Fashion Image Quality with Demna AI
- Demna AI Batch Upload Tips for Faster, More Consistent Fashion Workflows
- Demna AI Privacy Policy: Traditional vs AI-Powered Fashion
- How to Customize a Fashion Design Mannequin with AI